8 Step Anime Woman’s Head & Face Drawing Tutorial
This tutorial explains how to draw an anime woman’s head and face step by step. The focus is on creating a middle aged looking female in the anime/manga style with proportion and facial features common to that type of character.
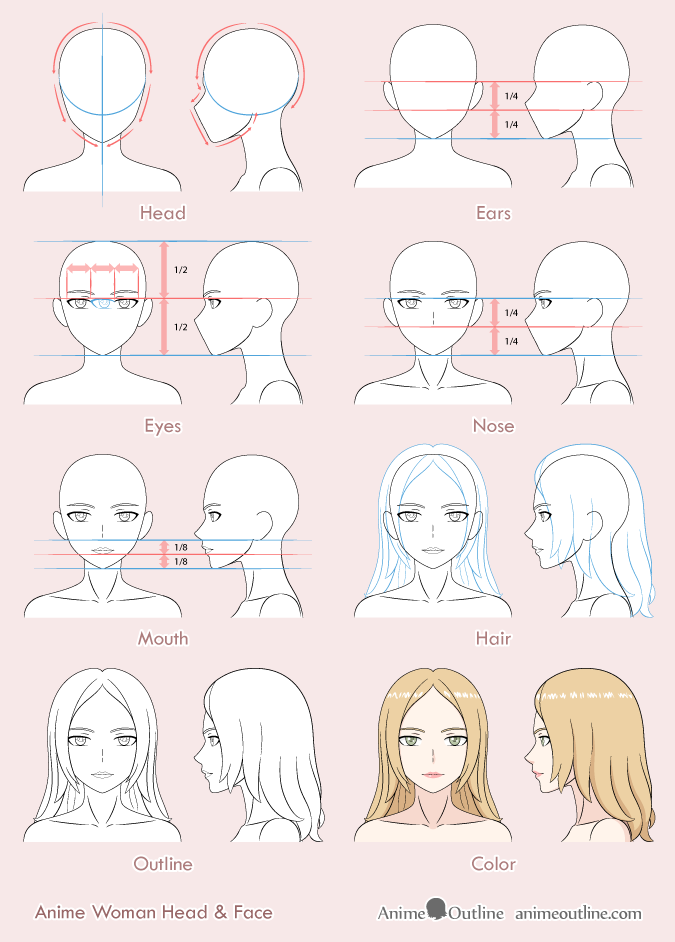
The age of the woman in this tutorial can be anywhere from late 20’s to late 30s.
If you are going to be following along drawing on paper try and keep your lines very light as you will need to erase parts of the head in some of the steps. If you are drawing digitally then you may have a lot more options depending on the software you are using.
For the pros and cons of drawing with a pen tablet see:
Should You Buy a Pen Tablet for Drawing Anime and Manga?
Step 1 – Structure & Draw the Head
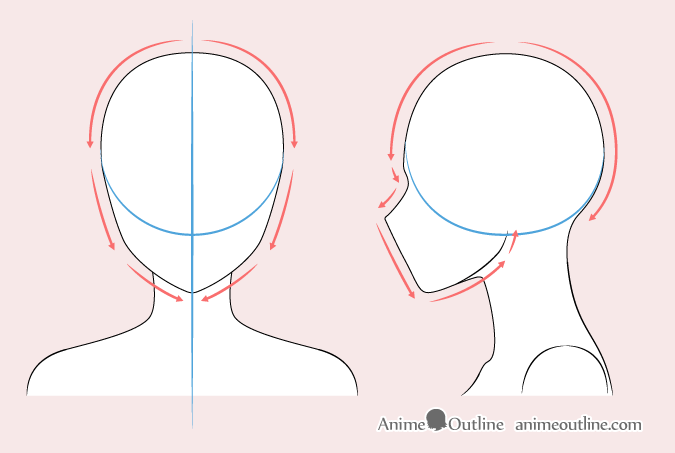
For a middle aged female anime character’s head draw it “taller” (longer vertically) than you would for a younger person. Kids generally have rounder faces than adults therefor a longer face will automatically make a character look older and more mature.
For the front view you can first draw a shape close to a circle. Draw two lines going down from that and two more lines going down form those meeting in the middle to form the chin.
For the side view you can draw the top of the head as an oval and then add the bottom section onto that. This can get a little tricky as you will want to indicate the nose right away. As suggested earlier you can do a rough drawing with light lines first and estimate where the nose should be and correct your drawing later if needed. For placing the nose see step four of this tutorial.
For now draw the area between the tip of the nose and the chin as a single line. The details of the mouth and bottom portion of the nose will be added in later stages.
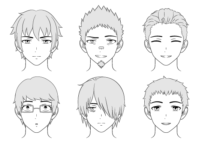
For more on anime heads and faces see:
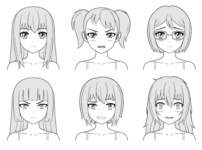
How to Draw Different Styles of Anime Heads & Faces
For drawing anime necks and shoulders see:
How to Draw Anime Neck & Shoulders
Step 2 – Place & Draw the Ears
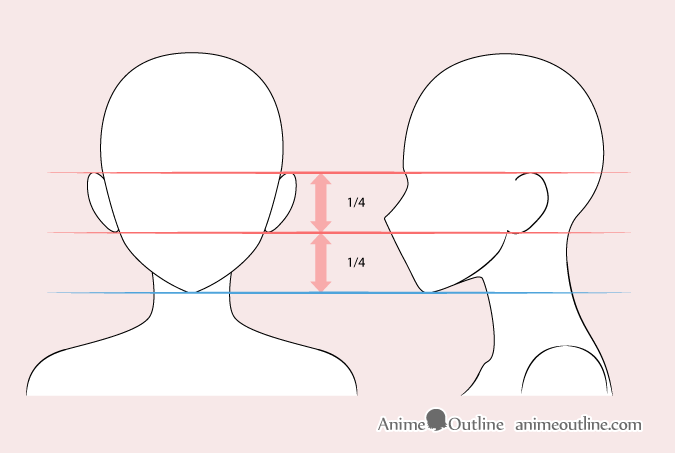
Please note that the ears will actually be covered by the hair in later steps so drawing them can be optional. However it can still be a good idea to at least show their outlines (even if you erase them later) as it can help you judge weather or not your character looks right. Drawing the head without the eras can just look odd. It’s also a good to know how to position them in case you want to draw a different hairstyle.
For placing the ears draw a horizontal line through the middle of the head and then a line between that and the chin. Draw the ears between these two lines.
For more on drawing anime ears see:
How to Draw Anime and Manga Ears
Step 3 – Place & Draw the Eyes
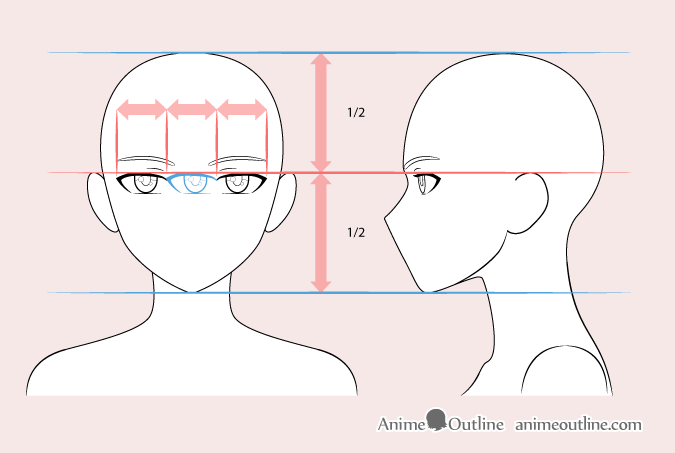
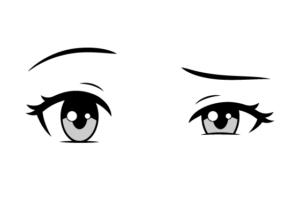
Bigger and wider eyes tend to make characters look younger. For an older anime characters draw the eyes vertically narrower and with slightly smaller irises/pupils in relation to the rest of the eye.
To position the eyes you can use the horizontal line made though the middle of the head in the previous step. Draw them directly below it.
For the front view draw the eyes roughly far enough apart that you can fit another eye in between them.

You can see all of the drawing steps for the eyes in the example above however you should finish the entire drawing of the face before adding color. You can simply come back to this example if you need to when you are working on the last step of the tutorial
For more on drawing anime eyes you can see:
Step 4 – Place & Draw the Nose
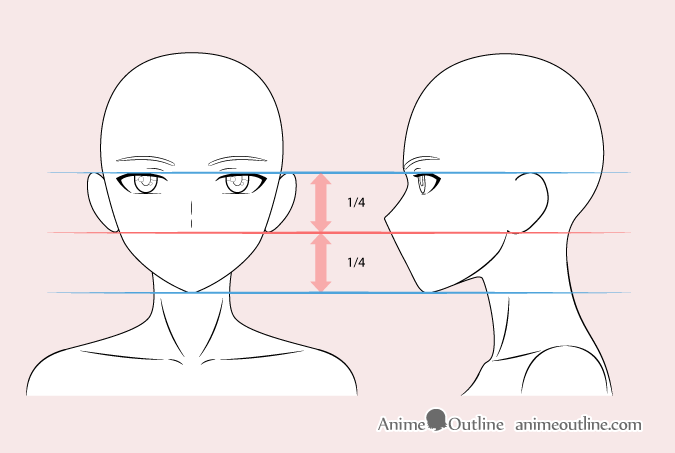
When placing the nose you can again use the lines in the previous step. In this case it’s bottom will be on the same line as the bottom of the ears.
For drawing the bottom portion of the nose in the side view you can see the next step as it’s pretty much tied into drawing the lips.
When drawing the front view of the nose you can show it as two vertical lines. The little gap between these will indicate the tip. Make a shorter line for the bottom part of the nose (below the tip) and a longer one above it.
For more examples of anime noses see:
How to Draw Anime and Manga Noses
Step 5 – Place & Draw The Mouth & Lips
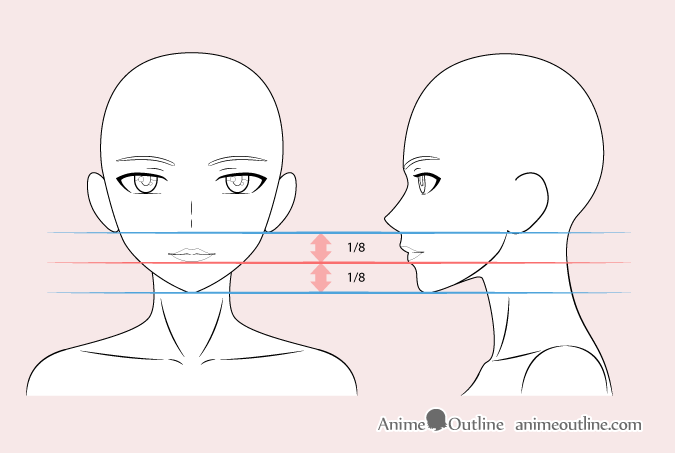
Anime mouths are usually drawn as a single line (often broken up in the middle). The lips are generally not shown at all or just hinted at. However older characters tend to sometimes be drawn with more pronounced facial features so in this case the mouth will be slightly better defined. The woman will also be wearing lipstick which means that the lips can be shown as well.
Position the mouth so that it’s bottom lip is halfway between the bottom of the nose and the bottom of the chin.
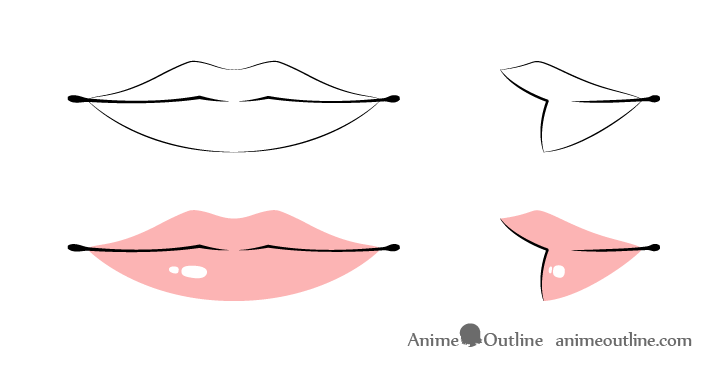
You can see a close up drawing of the mouth and lips with all the details in the example above. Again wait until you are done with the entire line drawing of the face to add color.
For more on drawing anime lips see:
How to Draw Anime Lips Tutorial
For drawing more traditional looking anime mouths see:
How to Draw Anime & Manga Mouths Tutorial
Step 6 – Draw the Hair
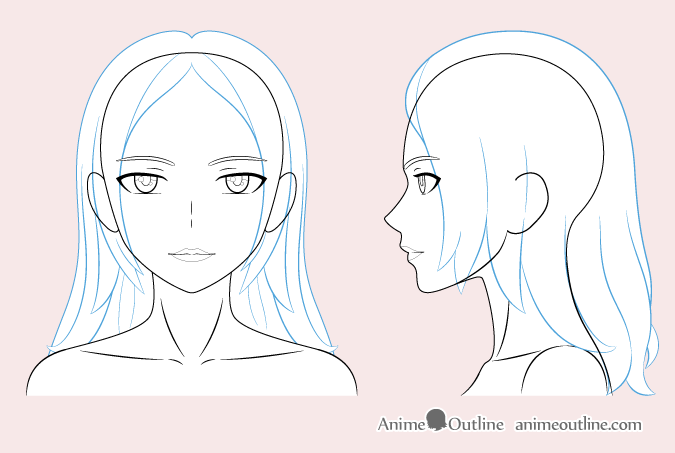
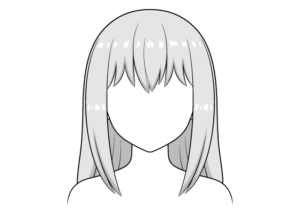
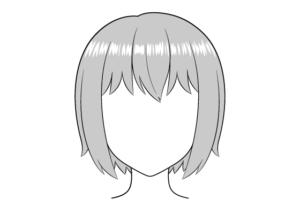
For this hairstyle draw the top part of the hair somewhat tracing the shape of the head. As the hair goes down you can draw it splitting into various clumps with some light curves/waves in them.
For more on anime hair see:
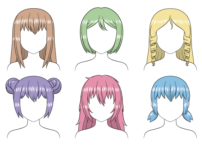
- How to Draw Anime and Manga Hair – Female
- How to Draw Anime Hair in 3/4 View Step by Step
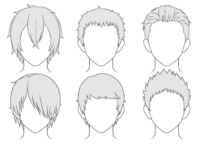
- How to Draw Anime & Manga Male & Female Hair
Step 7 – Clean up the Drawing
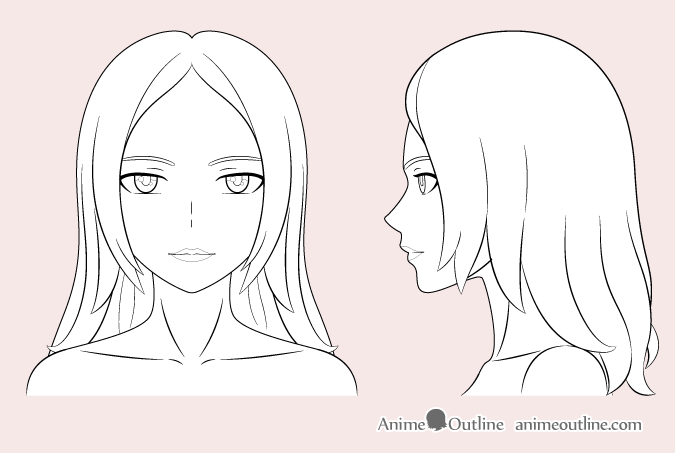
Once you finish the previous steps clean up your drawing and erase any guide lines as well as the parts of the head covered by the hair. You can then trace over your lines to darken them. However do not trace over the outlines of the highlights and shadows in the eyes. Leave those lines light so that they pretty much blend into the color/shading added in the next step.
Step 8 – Color the Drawing
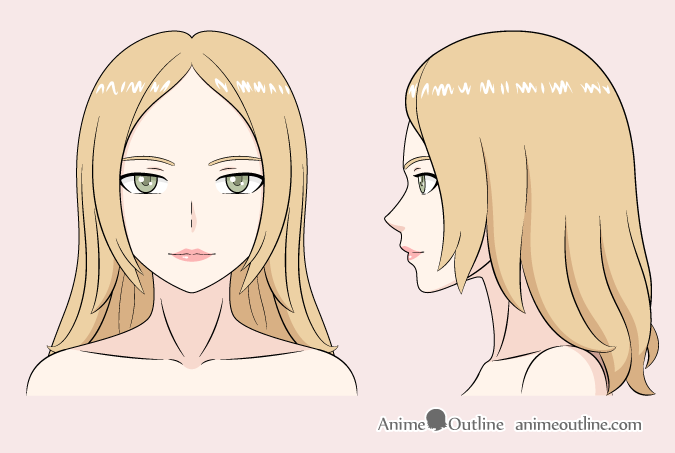
To color and shade your character first fill each area such as the hair and skin with a solid color and add the darker shadows afterwards. You can either leave the highlights like the reflections in the eyes, hair and lips white if drawing on paper or draw them in later if drawing digitally.
For some generic shading darken the areas that normally tend to be away from the light. In this case most of the shadows will be located in the following places:
- Tiny shadows around the eyelid lines
- Shadows on the upper parts of the eyes (cast by the eyelashes)
- Small shadow to one side of the nose
- Shadows along the various hair clumps (generally towards their bottom)
- Large shadow on the neck cast by the head and hair
For more on coloring an anime character see:
- Beginner Guide to Picking Colors When Drawing Anime & Manga
- How to Color an Anime Character Step by Step
Conclusion
For older looking anime characters draw them with a longer faces and narrower eyes than you would for a younger ones. If you look at few photos of real people generally kids tend to have rounder faces and larger eyes (in relation to their head) than adults. As anime characters are fairly stylized these difference can be even more exaggerated.
For drawing a younger looking female faces see:
For drawing male faces see:
- 10 Step Anime Man’s Face Drawing Tutorial
- How to Draw Anime and Manga Male Head and Face
- How to Draw an Anime Boy (12 Steps With Proportions)
For drawing faces in 3/4 View see:
- How to Draw Male Anime Face in 3/4 View Step by Step
- How to Draw Male Anime Face in 3/4 View Step by Step

