How to Draw a Sports Car Step by Step
This tutorial shows how to draw a sports car with an anime, manga or a comic book style look with line drawing and coloring examples.
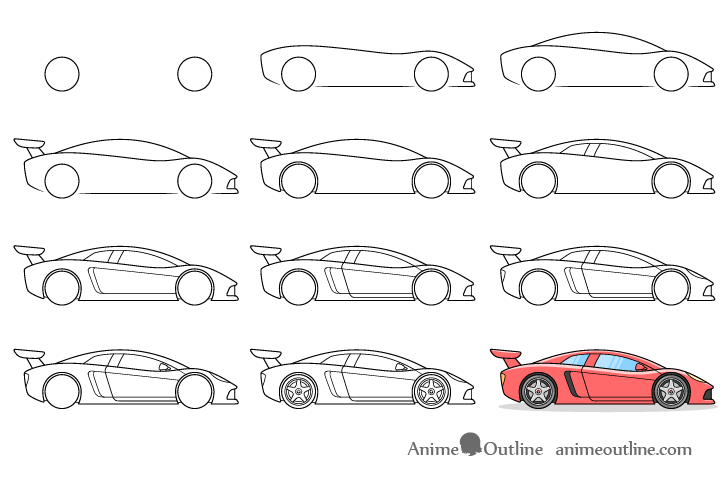
Cars and other vehicles are very common in anime, manga and comic books. They come in many types and shapes such as futuristic, modern or even fantasy. The one shown in this guide is a modern looking sports car drawn in a style that can fit well into any of those mentioned. The focus is on creating a generic sports car look without trying to draw a particular brand.
The car in the example is fairly detailed but the tutorial is split up into many steps to make it easy to follow along. Unless drawing digitally you should start in pencil and make light lines until you have all parts of it in place.
The video above shows the car being drawn line by line. You should watch it for a more detailed breakdown of the drawing process. Also, be sure to read the instructions below.
If you like the video please leave a like and subscribe to the AnimeOutline channel. Your likes and subscriptions are very helpful and important in getting this type of content to reach more people.
Step 1 – Outline the Wheels of the Sports Car

First, draw a pair of circles for the wheels. Be careful in how you space these out as they will determine the car’s length.
Step 2 – Draw the Lower Body
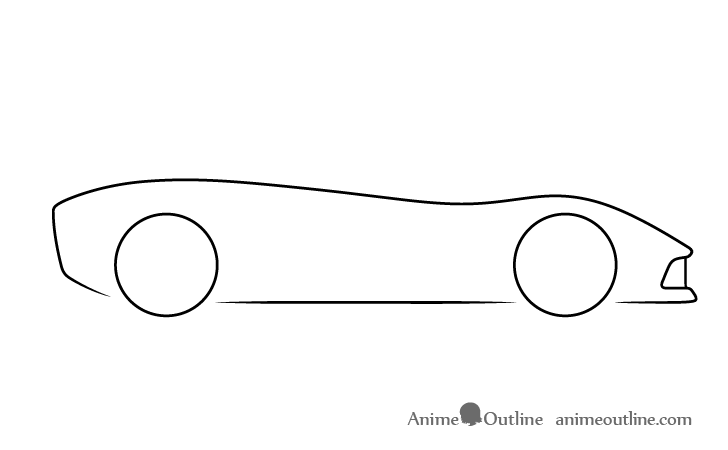
On top of the wheels draw the bottom part of the car’s body. Position the body fairly low so that there is little space between it and the ground. This is very typical for sports cars.
Draw the back of the car angled slightly backwards. The body’s shape should then rise as it goes over the back wheel and gradually lower again. It should then rise again over top of the front wheel and lower towards the front of the car.
At the very front add the first air vent as shown in the example.
Step 3 – Draw the Upper Body
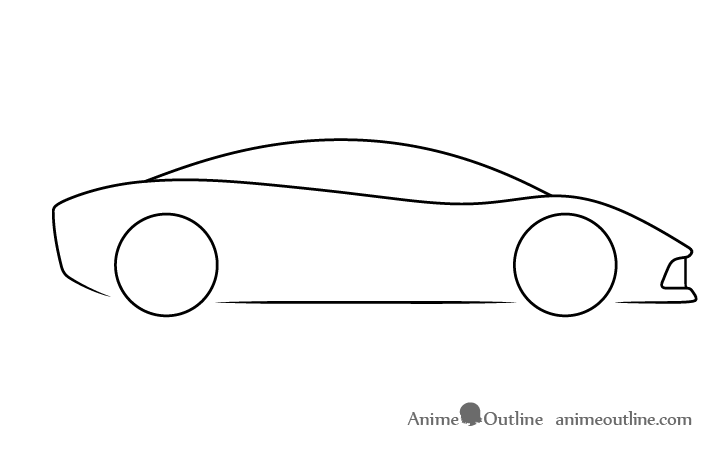
Draw the upper part of the body as a single curve that runs from the front wheel to the back wheel. While this step is very simple it’s quite important as the curve defines the shape of the rear view window the roof and the windshield.
Step 4 – Draw the Spoiler
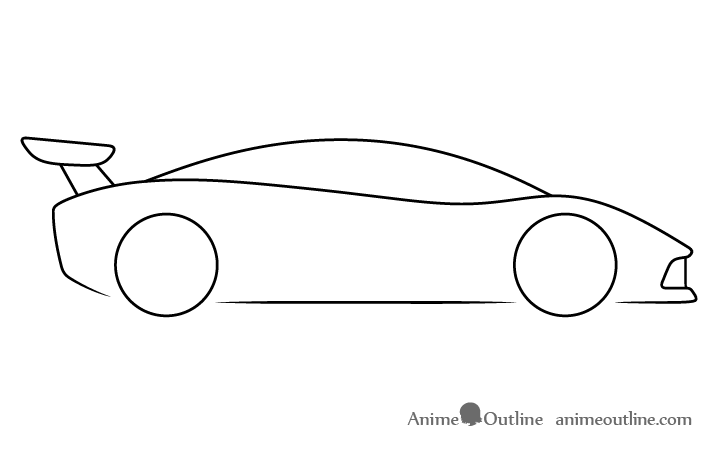
Another defining feature of sports cars is a spoiler. Draw one at the back with it’s base tilted backwards and it’s top tilted slightly forward.
Step 5 – Draw the Wheelhouses
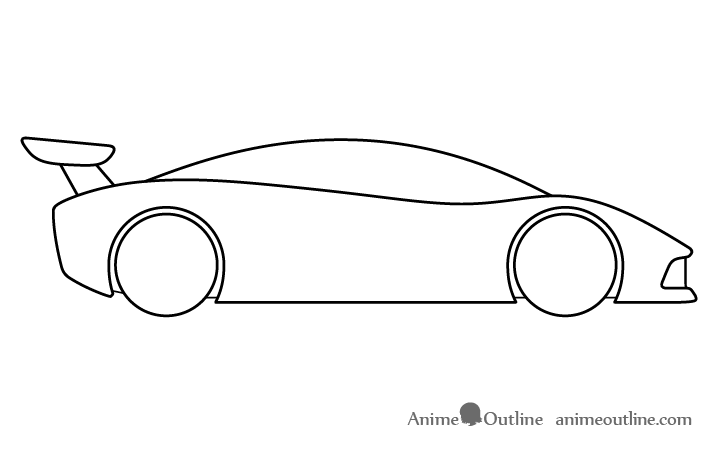
Around each of the wheels outline the wheelhouses. Draw them following the shapes of the wheels at their upper ends and gradually moving away from them as they go down.
Step 6 – Draw the Windows
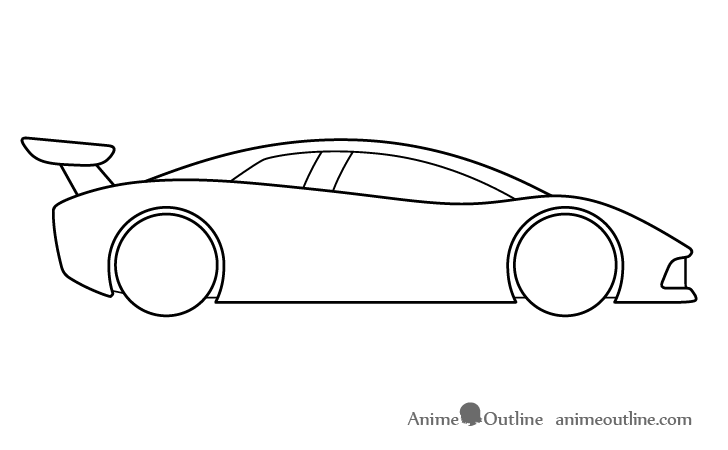
Define the windows starting with an angled line at the back. Their upper ends should then run along the curve of the roof (slightly moving away from it towards the front).
Step 7 – Draw the Air Vent
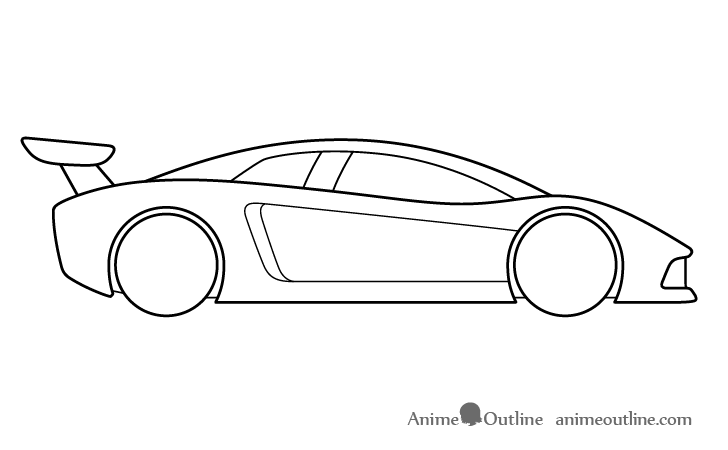
Add an air vent to the side of the car as is very common for sports cars. Draw it as shown in the example.
Step 8 – Draw the Door
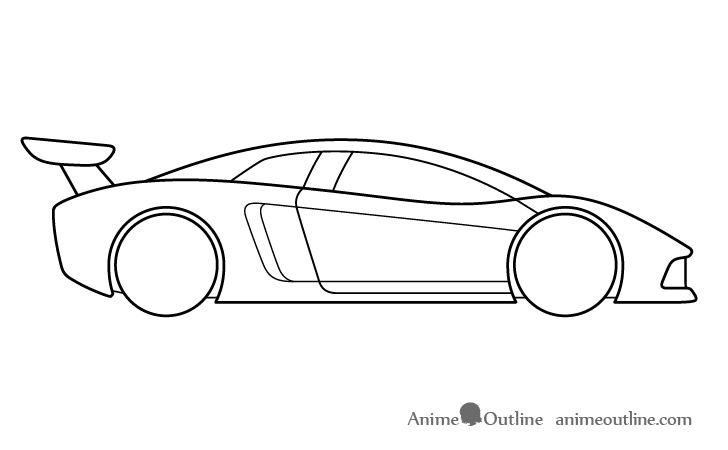
Outline the shape of the door going from the window frame through the air vent and towards the bottom of the body (but not quite touching it).
Step 9 – Draw the Head & Tail Lights
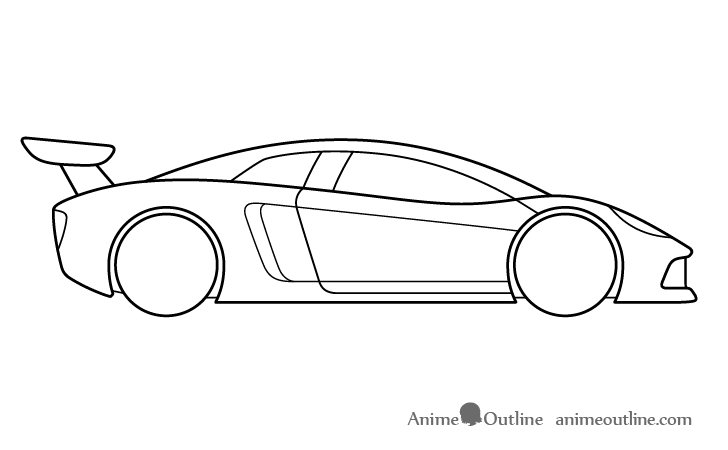
Add the head and tail lights shaped as shown in the example.
Step 10 – Draw the Rear View Mirror
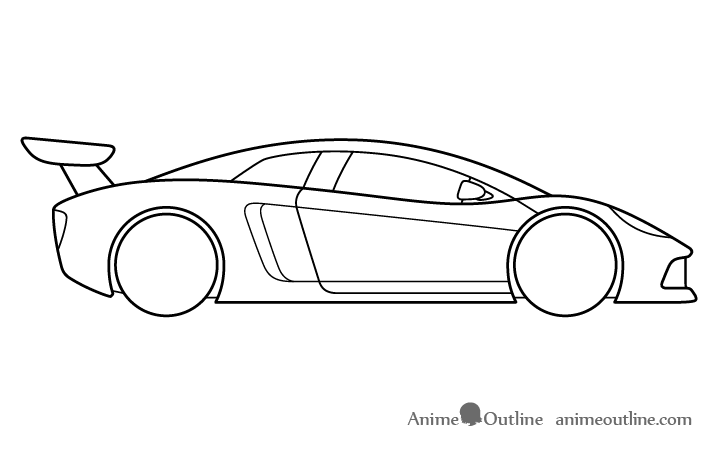
Add the rear view mirror at the forward end of the front window. Make it curved on one end and angled forward on the other (the driver facing side).
Step 11 – Draw the Rims
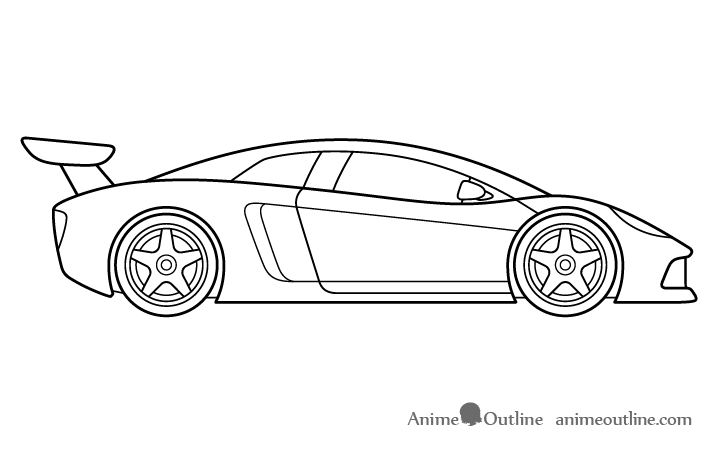
For the last part of the sports car draw the rims.
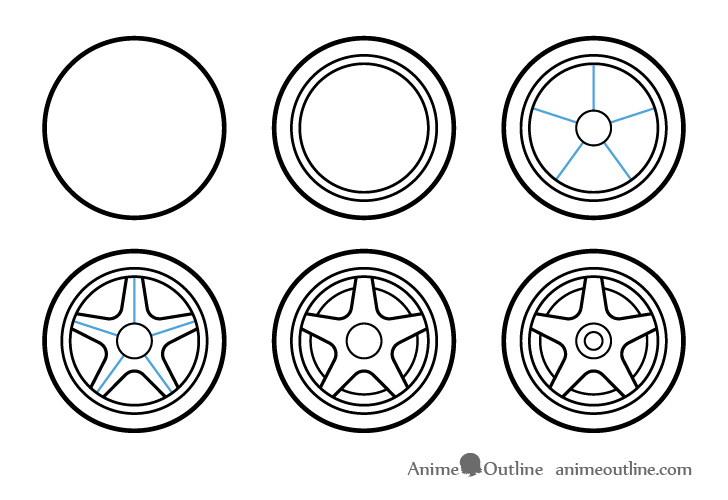
Sports cars tend to have fairly elaborate rim designs so an additional step by step example of drawing one is shown above (you can draw both to be exactly the same).
In this example the rims are star shaped or “5 spoke rims”. When drawing the “stars” it’s a good idea to first add some guide lines as shown in blue in the example. These can make it much easier to properly place the spokes.
Try and position the guides so that they are all evenly spaced running through what will be the middle of each spoke. You can erase these lines after you have both “stars” drawn out.
Step 12 – Color the Sports Car
You can coloring process can be broken up into several sub-steps as shown below.
Fill in the Darkest Parts o the Car
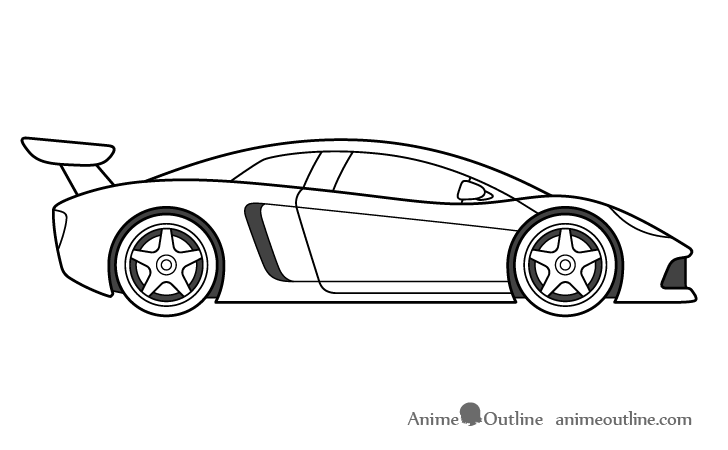
Start the coloring by first filling in the darkest parts of the car with black or very dark grey. There are the air vents, the wheelhouses and the inner areas of the wheels.
Color the Body

Before coloring the body make the taillight orange and the headlight yellow.
Make the body red (common for sports cars). When coloring it leave white streaks running along the upper areas of it’s different parts. These will show light reflecting from the car’s surface and will give it a smooth/shiny look.
You can go over the reflections with a lighter red afterwards (so that they don’t appear overly bright).
Color the Windows
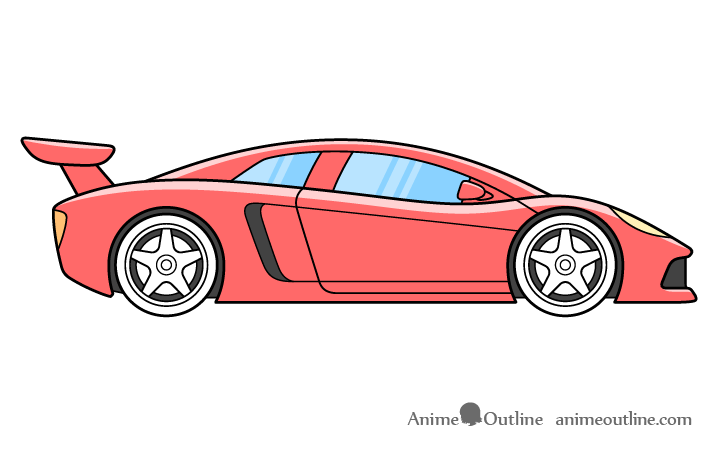
Color the windows blue with light blue reflections towards one side. First, fill in the darker blue areas and then fill in the reflections with a lighter variant of the same color.
Color the Rims

Color the wheels and rims as shown in the example above. When filling in the rubber leave a few white streaks along it as well and darken them afterwards. This will yet again show reflections and help make the wheels look new and clean.
Also, leave a white streaks along the upper ends of the spokes and on the lower end of the red bit in the middle.
Add a Shadow Underneath the Car
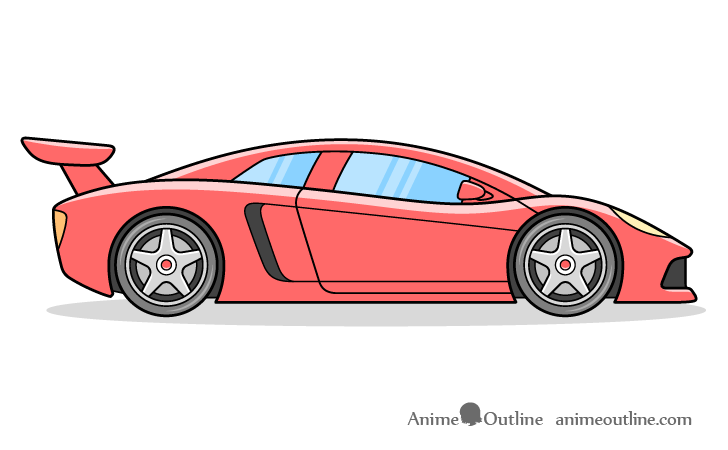
For the final part of the drawing add a shadow underneath the car. This will make it appear more like it’s sitting on a surface and not just floating in space.
Conclusion
This tutorial shows how to draw a cool looking sports car by taking the common features of such a vehicle. The drawing is done in a somewhat simplified style that can be appropriate for an anime, a manga or a comic book.
This is the first tutorial here on AnimeOutline for drawing a vehicle. Hopefully you’ve enjoyed it and found it easy to follow along. If you would like to see more tutorial like this you can leave a comment on the video in the AnimeOutline channel.
For more similar guides also try:
- How to Draw Sushi Step by Step
- How to Draw Fantasy Weapons (10 Different Types)
- How to Draw a Military Knife in 6 Steps

