How to Draw Anime Face Side View (With Proportions)
This tutorial show how to draw an anime face from the side with an easy to understand proportions breakdown. It includes a line by line video as well as step by step illustrated examples.
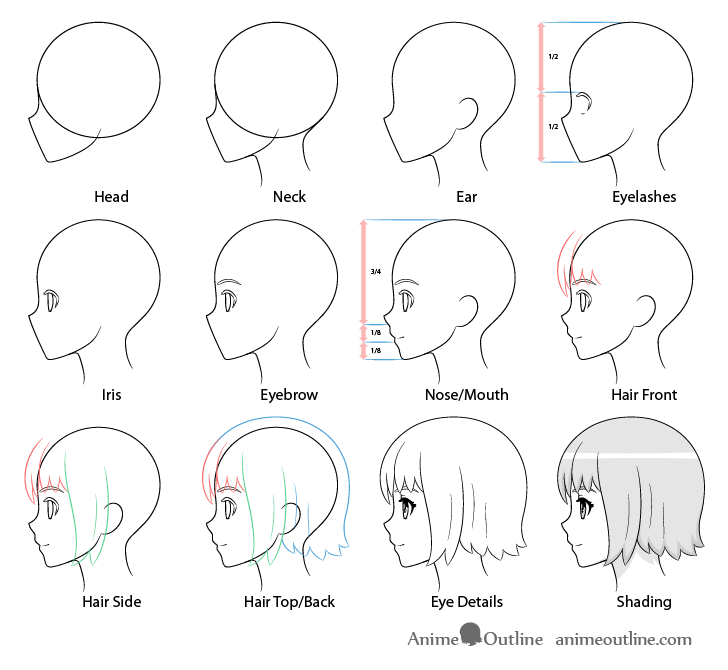
Drawing an anime face from the side view can seem easy, however, it can actually be a little tricky. To make the process easier to understand this tutorial offers a very detailed breakdown of structuring and proportioning the head as well as placing the facial features. You can see the main stages of the drawing in the preview but many of the steps have additional examples.
In this example the face is female but you can use the same approach for drawing a male one as well.
How to Draw Anime Face Side View (Video)
Above is a video that show the drawing process line by line. It’s recommended that you watch it and then follow the steps below that provide more detailed instructions.
If you find these types of guides helpful please be sure to give the video a like and to subscribe to the AnimeOutline channel. Your likes are VERY helpful!
Step 1 – Draw the Side View of the Head
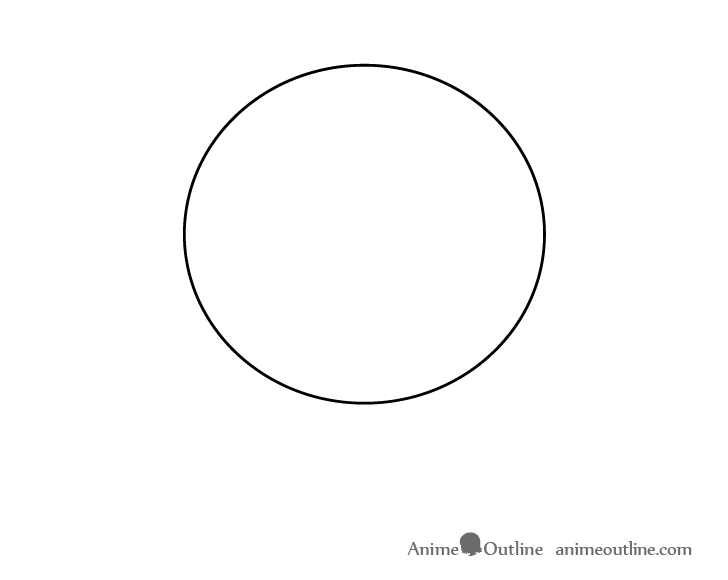
First draw an oval for the upper part of the head. As this is an anime character (they tend to have large foreheads) you can make it quite tall.
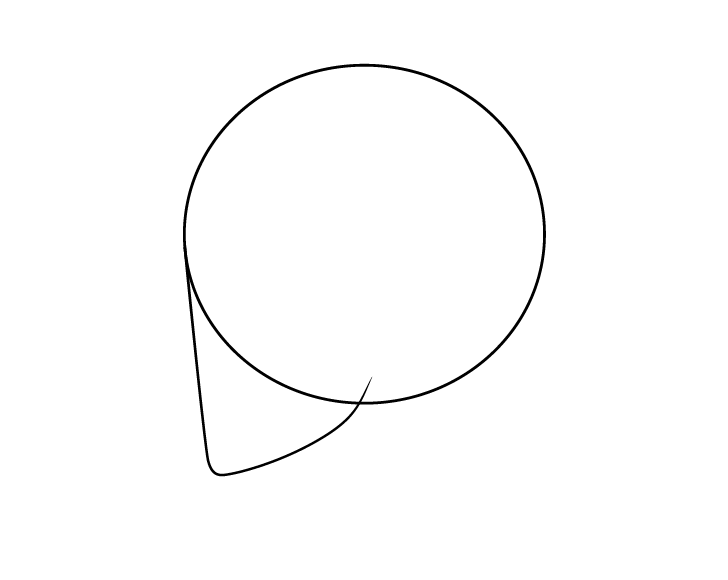
Next, draw the lower part of the head starting with the front of the face. Show this with a line that runs down from the side of the oval at a slight angle. It should then be followed by the tiny curve of the chin and an outline of the jaw.
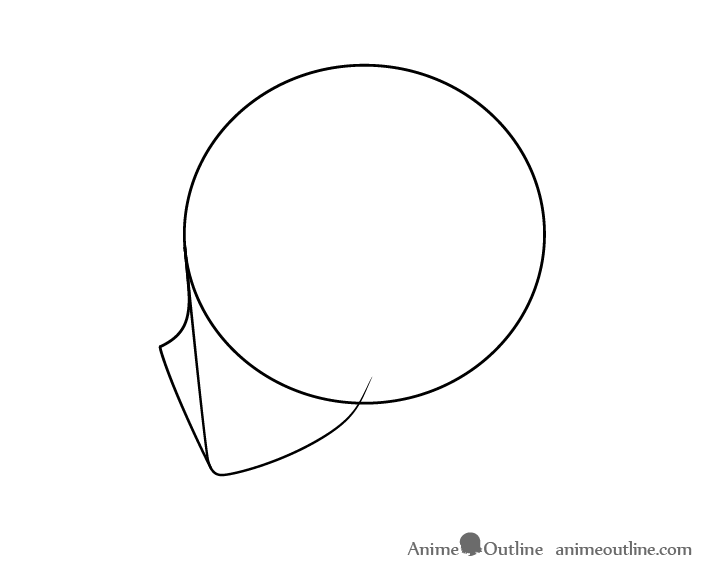
Onto the front of the face add a curved line that defines the bridge of the nose and runs down to it’s tip. The tip should be slightly higher up than 1/4 of the height of the entire head (starting from the bottom of the chin). You can see more on drawing the nose in step seven.
Finally draw a line going from the end of the nose down to the chin.
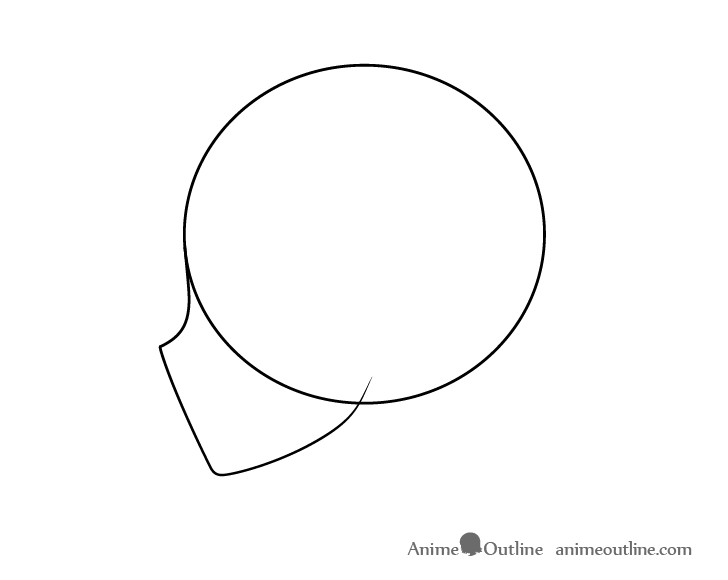
To keep the drawing from getting too cluttered you can erase the line used to define the front of the face so that it looks similar to the above.
Step 2 – Draw the Neck
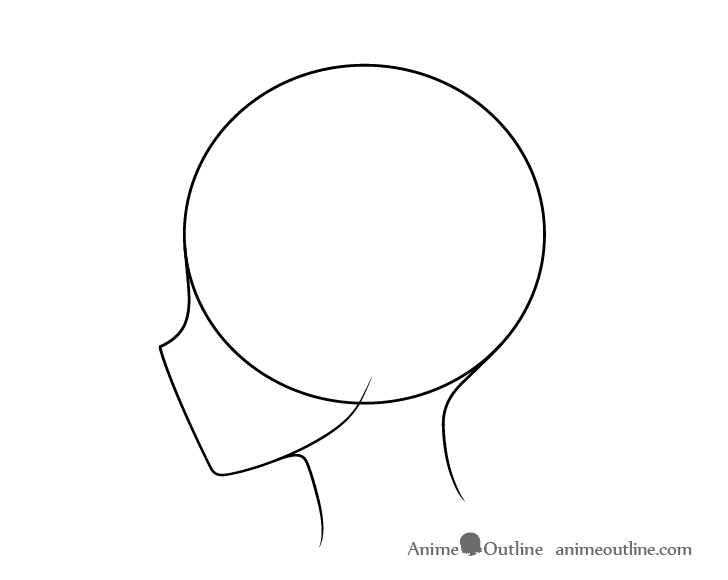
Going down from the bottom of the head draw the neck. Make it fairly thing in relation to the head (as again this is an anime character). Because the neck is being viewed from the side be sure to draw it on an angle.
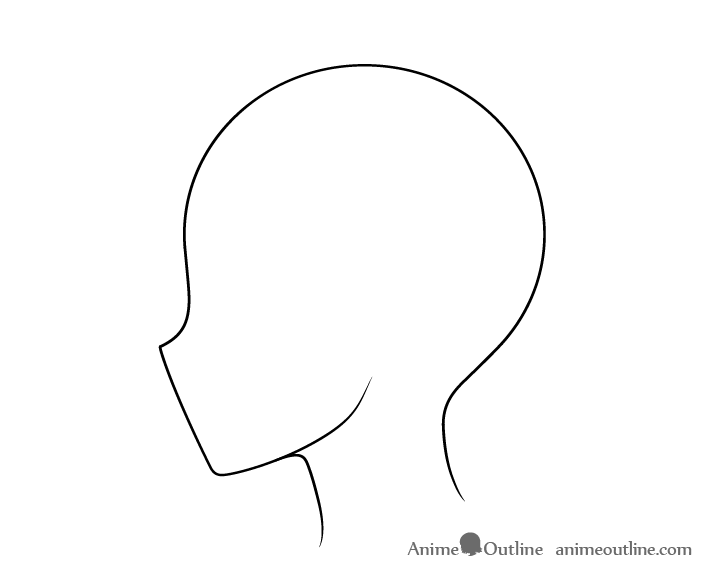
Once you have the neck erase the lower part of the oval from step one so that your drawing looks like the above example.
Step 3 – Outline the Ear
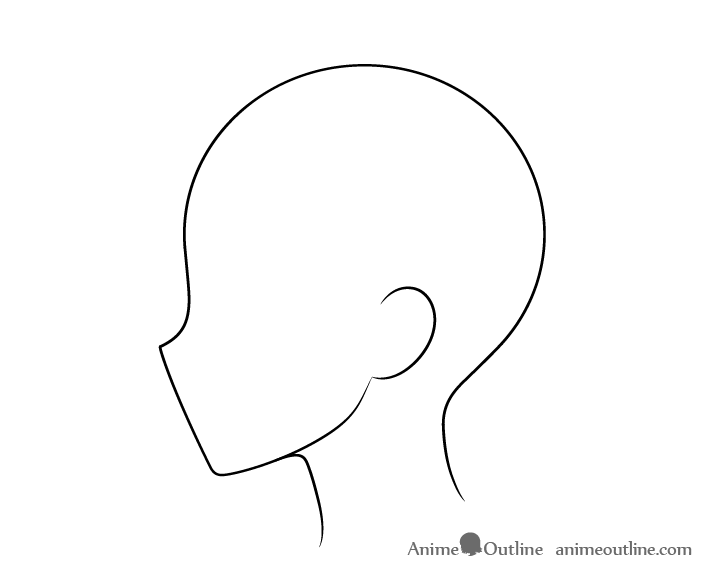
Going up from the end of the jaw add the ear.
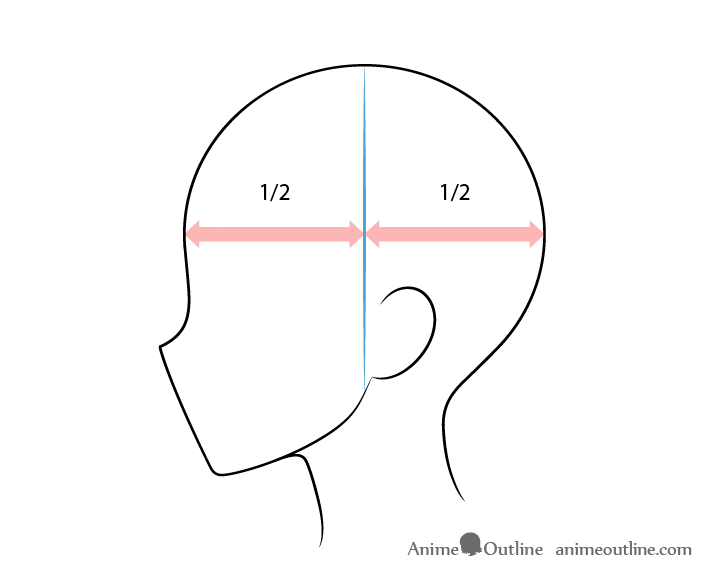
Position the ear so that if the head is divided in two vertically (not counting the nose) it will slightly past this halfway point.
For more on drawing ears and positioning them on the head see:
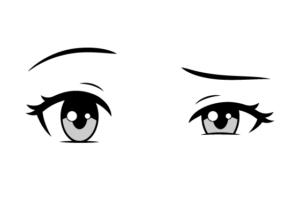
How to Draw Bored Anime or Manga Eyes
Step 4 – Draw the Eyelashes
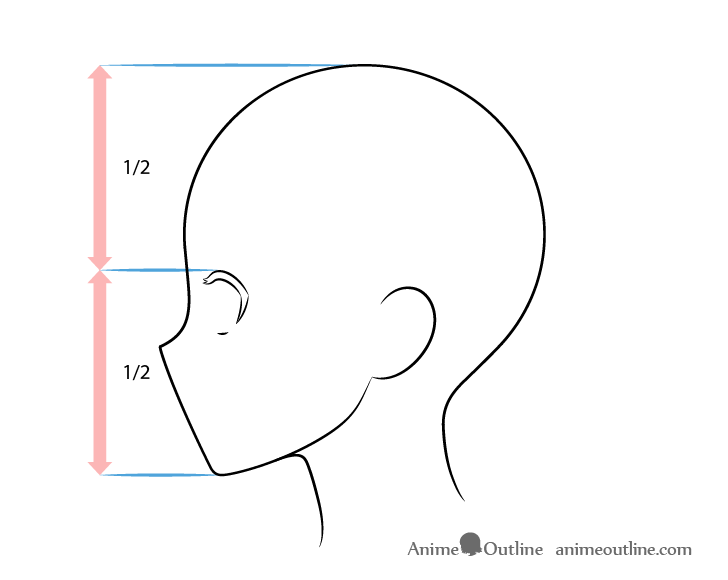
The eyelashes will define the shape of the eye. Position them below the horizontal halfway point of the head as shown in the illustration.
If you need to see the details you can find a close up step by step drawing of the entire eye in step eleven.
Step 5 – Draw the Iris
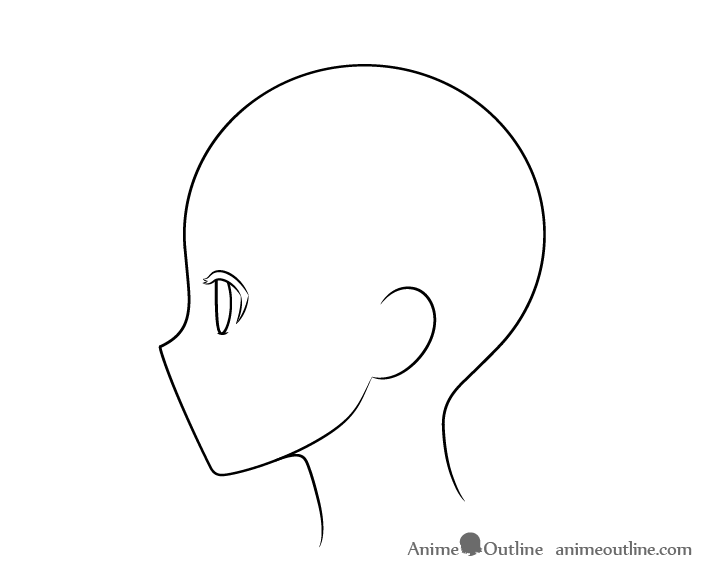
Inside the outline of the eyelashes add the iris. As the eye is being viewed on an angle make it oval in shape. Also keep in mind that it’s upper part will be partially covered by the top eyelid.
Step 6 – Draw the Eyebrow
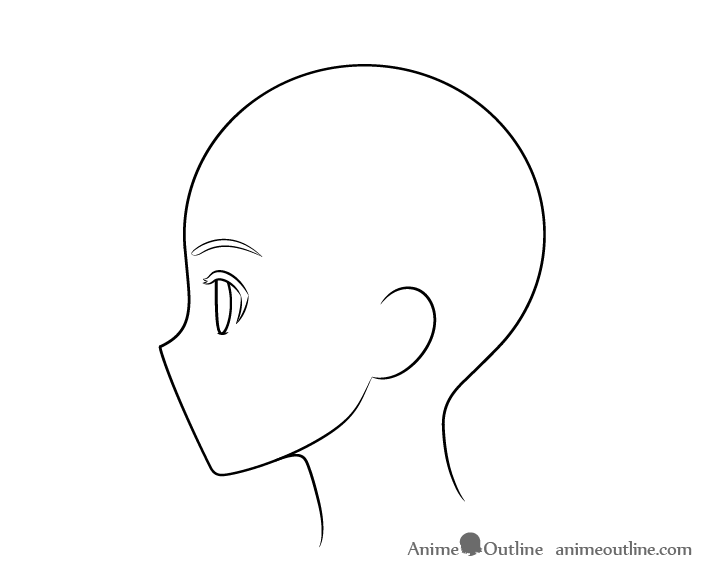
A little bit above the eye add the eyebrows. Make it wider towards the forehead and narrower as it goes in the opposite direction.
For more on anime eyebrows see:
How to Draw Anime & Manga Eyebrows
Step 7 – Draw the Nose & Mouth
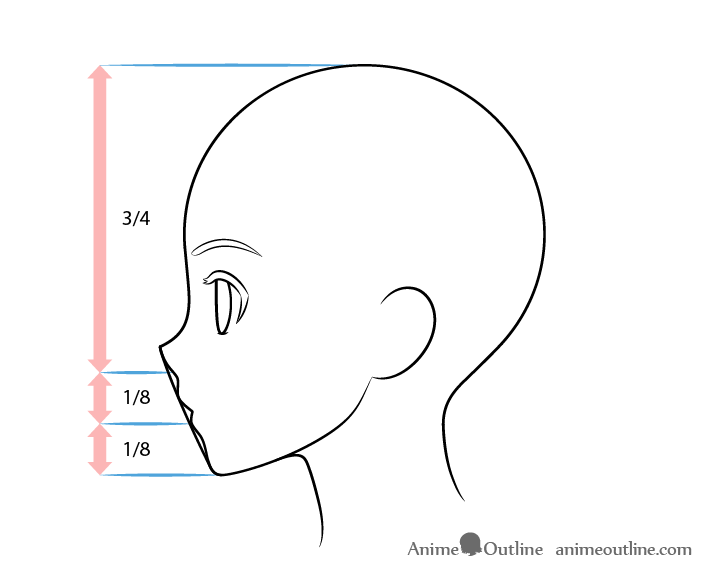
Using the line between the tip of the nose and the chin as a guide outline the lips and lower pat of the nose as shown in the example. The bottom lip should be about 1/8 of the way up from the bottom of the chin and the bottom of the nose should be close to another 1/8 of the way up from that.
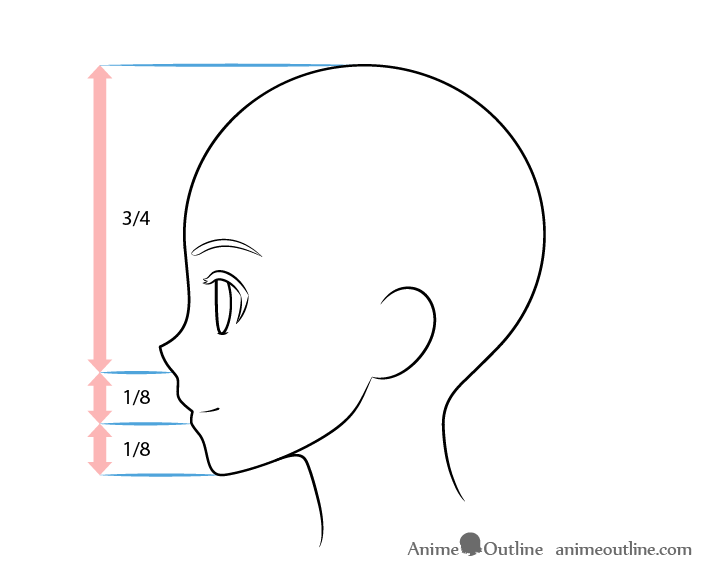
When you have the lips outlined you can erase the line used as the guide. Afterwards draw in a little curve to show the mouth. As is common in anime and manga you can leave a little bit of space between it and the lips.
Step 8 – Draw the Front Hair
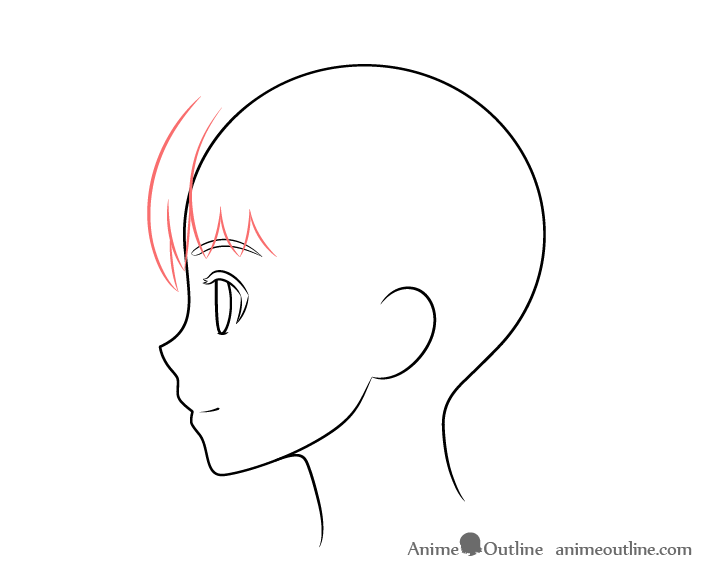
As the hair is fairly complex and detailed drawing it is split into three sections that are shown in different colors to make it easier to distinguish between them. These are as follows:
- Front – red
- Side – green
- Top/Back – blue
You can of course draw all of them in one color.
For more on this approach see:
How to Draw Anime and Manga Hair – Female
Start with the hair at the front. As this is anime hair you will want to draw it in fairly large clumps as shown in the example.
Step 9 – Draw the Sides Hair
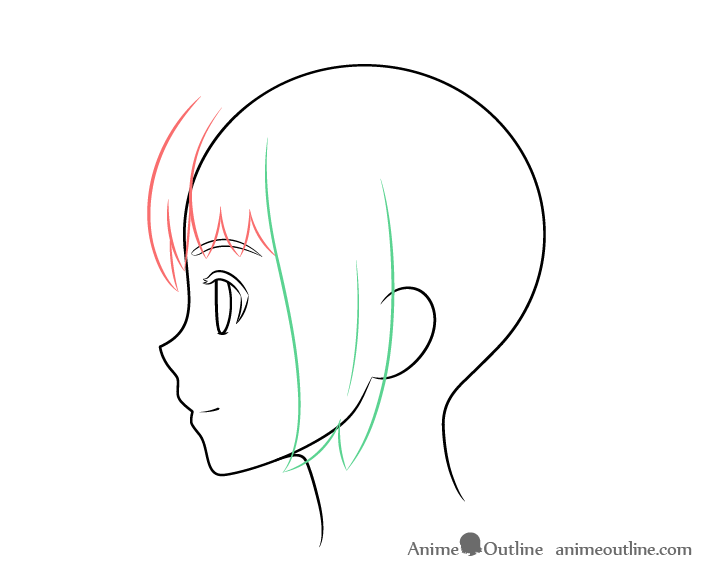
Draw the hair on the side of the face running down in one large clump that splits in two at the end. You can also add a line that shows a bit of a fold in it.
Step 10 – Draw the Top/Background Hair
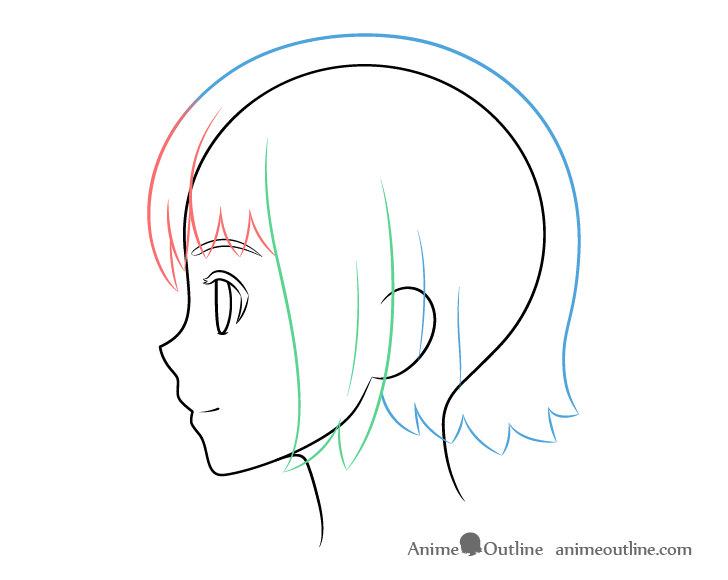
Draw the top section of the hair starting where the upper/front leaves off. It’s shape should somewhat follow the shape of the head and run all the way down to the back of the head.
Next draw a series of clumps at the bottom along with a couple more folds around the ear. When adding the clumps try and slightly vary the direction of their bends/curves so that they look more natural.
Step 11 – Draw the Details of the Eyes
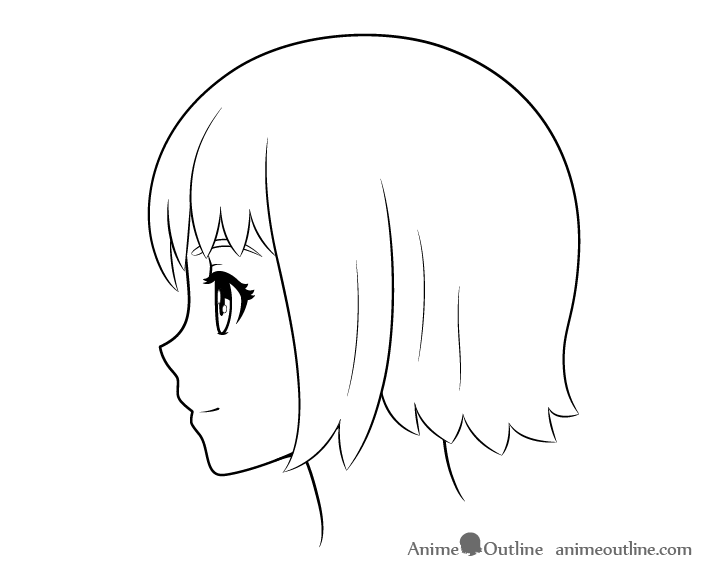
With the main parts of the head outlined and all of the facial features placed you can add the smaller details of the eyes.
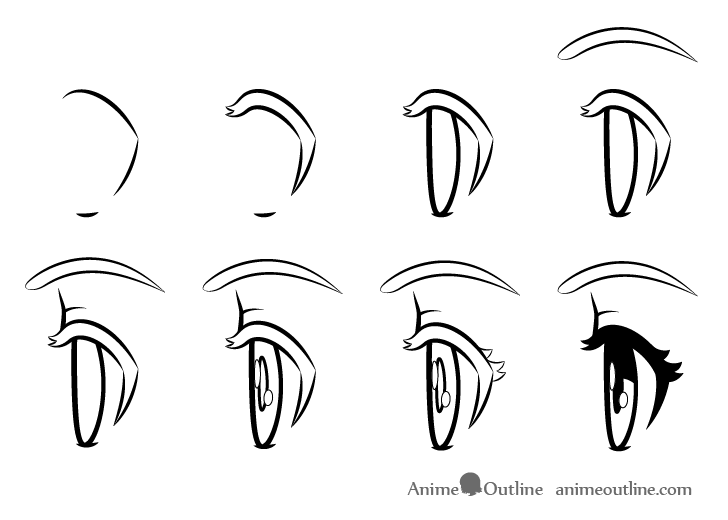
Above is a full breakdown of drawing an anime eye from the side view. At this step of the drawing you should be at stage four of the above (last example in first row). Here you should:
- Draw the upper eyelid (as shown in example).
- Draw the pupil and a pair of highlights (light reflecting from the eye).
- Add some more hints of individual lashes at the outer corner of the eye.
- Darken the eyelashes, pupil and upper part of the iris.
Step 12 – Add Shading
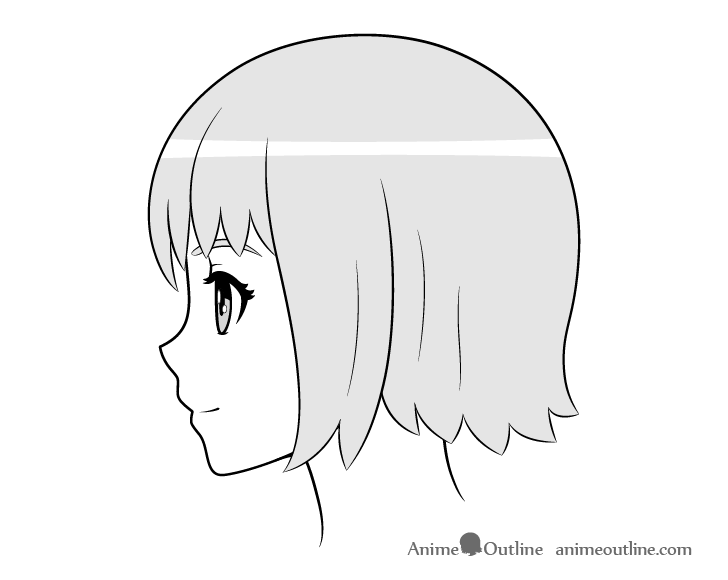
For this step first fill in the iris, eyebrow and hair with some basic shading. You can also use color if you prefer. When doing so leave a white streak in the hair for the highlights (light reflecting from it).
For more on drawing anime style hair highlights see:
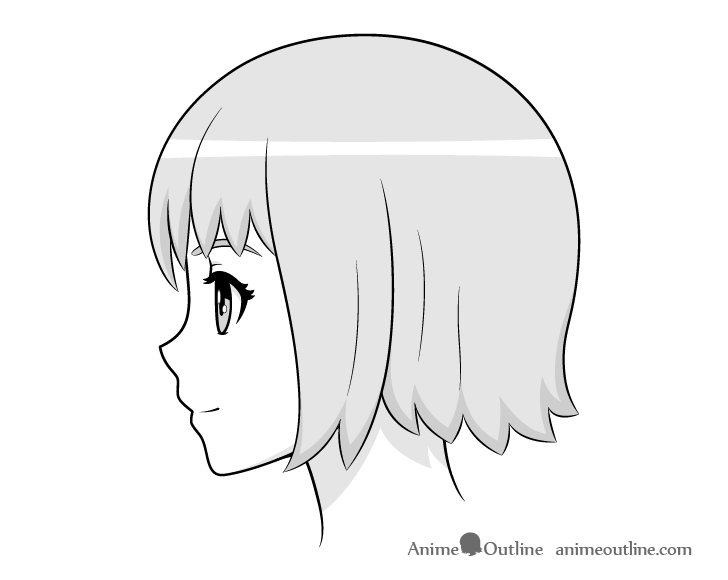
After you have each part filled out you can add the various shadow cast by the different parts of the head.
The position of shadows depends on the type of lighting you want to draw the character in. However, in most anime scenes the shading is done in a fairly generic way, appropriate for most common lighting conditions such as a well lit room or daytime outside.
For this type of shading you can place the shadows as follows:
- Around the eyelid (really small)
- Below the eyelashes (cast by them)
- The upper part of the neck (cast by the head and hair)
- Along the bottoms of the hair clump.
You can also darken the entire eyebrow.
For more example of shading in the anime or manga style see:
How to Shade Anime Hair Step by Step
Conclusion
Anime characters have proportions that are different from those of real people. This can make drawing an anime face a bit complicated. However, a guide such as this one can make things much easier and more manageable. Weather you are are trying to improve as an artist or just drawing for fun.
If you like detailed step by step tutorials such as this one you can also try the following:
- How to Draw an Anime Face (Structure & Proportions)
- How to Draw an Anime Boy (12 Steps With Proportions)
- How to Draw Anime Male Face Video Tutorial
- How to Draw Anime Girl Full Body Step by Step

